The Document Overview dialog allows the user to move through and edit settings commands at different locations throughout the file. This is particular useful in large files or projects such as manuscript files with multiple chapters where you may want to adjust the settings at a particular location in a file, but don't know exactly where you need to go in the file to change them.
To access the Document Overview dialog, click Format, Document Overview. You will see the following screen:
Included Files
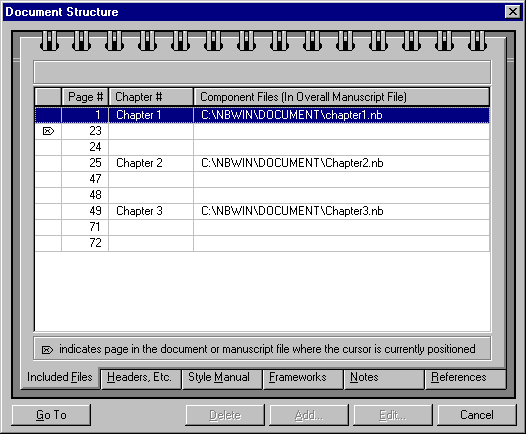
Across the bottom of the dialog box you can see a series of tabs reading Included Files, Headers Etc., Style Manual, Frameworks, Notes, and References. By clicking one of these, this dialog will allow you to move through the different settings in the file or files (in the case of a manuscript file) that you are working with.
The marker in the far left-hand column indicates where the cursor is currently positioned. In the example above, the cursor is currently located on page 23. In all tabs, there is the option to go to a location in the file. Click on the page location in the menu and then click on the Go To button in the lower left hand corner.
The Included Files tab is primarily useful when you are working with a manuscript file. It will allow you to see and go to the locations in the manuscript where each file begins. In this part of the dialog, as in others, there are blank spaces next to some page numbers. These are harmless--they usually indicate the beginning of sections such as bibliographies or endnotes.
Headers, Etc.
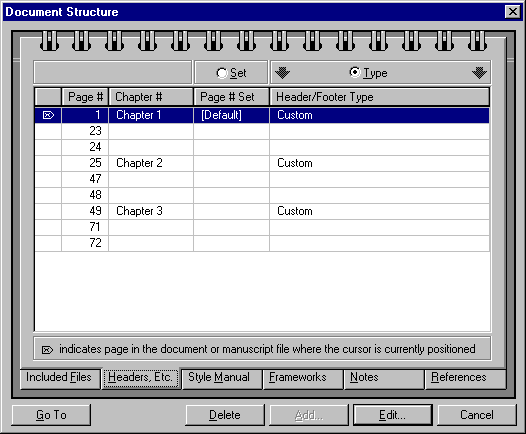
The Headers, Etc. tab allows the user to go to a specific location in the document or manuscript file. At the top of the screen, there are two radio buttons labeled Set and Type over the Page # Set and Type columns, respectively. Clicking the Set radio button will activate the Add button at the bottom of the dialog. If you have a certain header setting selected, and click Add, you can reset the page number at that location.
Clicking the Type radio button will activate the Delete and Edit buttons. The Delete button will then delete the header and footer settings at the selected location. The Edit button will take you into the dialog box for editing header/footer settings at the selected location. For more information, see Editing Headers and Footers.
Style Manual
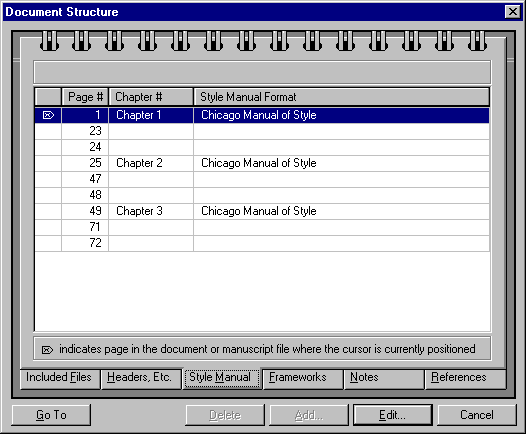
The Style Manual tab uses only the Edit button. Selecting the location and then clicking Edit opens the Format, Style Manual dialog and changes the settings at the selected location. For more information, see Changing an Academic Style.
Framework
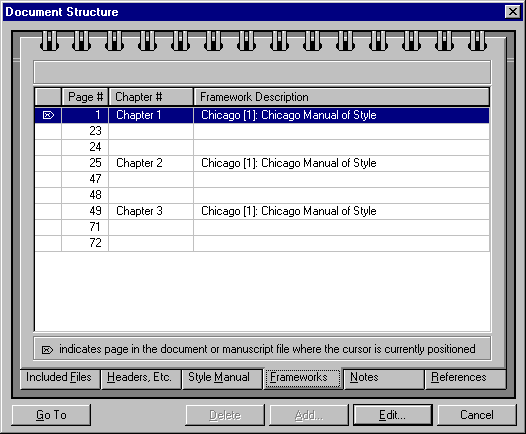
Within the Framework tab, selecting the location and clicking Edit will open up the Framework dialog so that settings will be changed at that location. For more information, see Editing a Framework and Editing an Academic Style.
Notes
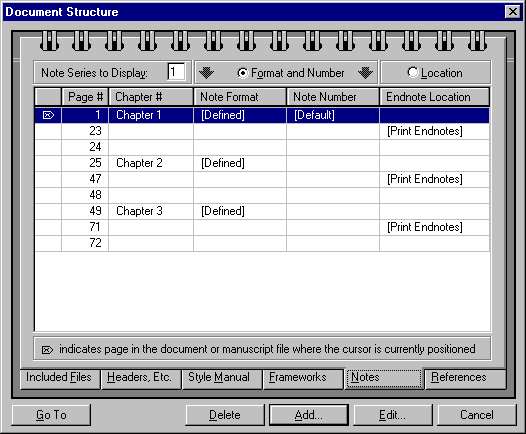
The Notes tab enables moving through the different note settings that might be present in a document or manuscript file. Nota Bene supports up to three series of notes, and the Note Series to Display controls which series' properties will be displayed.
When the Format and Number radio button is selected, you can delete the note settings, add a new set of settings, or edit the current ones. Click on one of the locations where the note format is defined, and then click Delete, Add or Edit.
The Location radio button is only applicable to Endnotes that are placed. By selecting this radio button, the Delete button at the bottom is activated, and you can delete the placement marker which displays the endnotes in a certain location.
References

The References tab enables the user to locate and change the settings of references lists in the file. By clicking on the location of the reference list, one can Add or Edit settings for the reference style and other relevant settings.
See also: